How to remove press-on nails
Are you ready to give your press-on nails a fresh start without the hassle? Thankfully, removing press-on nails by soaking them in soapy water is gentle and non-abrasive. In this comprehensive guide, we will cover all the steps, tips, and tricks for a safe and effective press-on nail removal.

Materials Needed:
- Warm water
- Mild liquid soap or dish soap
- Bowl or basin
- Wooden cuticle stick (included in your press-on nail kit)
- Nail buffer or file
- Nail oil or cuticle oil (optional)
Step-by-Step Guide:
- Prepare Your Workspace:
- Find a comfortable, well-lit, and clean area to work in.
- Ensure all your materials are within easy reach.
- Fill a Bowl with Warm, Soapy Water:
- Pour warm water into a bowl or basin. It should be comfortably warm, not too hot.
- Add a few drops of mild liquid soap or dish soap to the warm water. Mix gently to create a soapy solution.
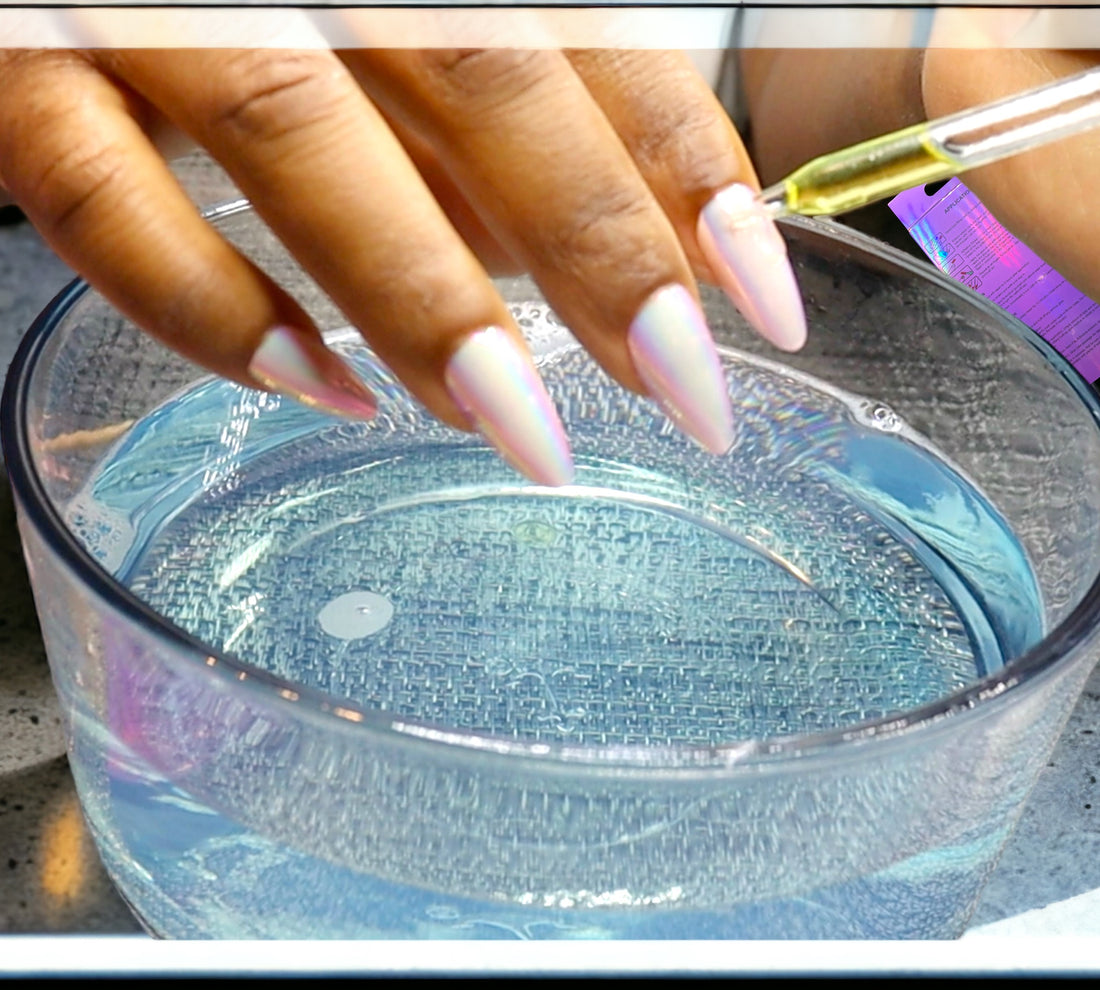
- Prep your nails:
- Apply a generous amount of cuticle oil to your cuticles and allow to sit for 5 minutes.
- Wipe off the excess oil off
- Soak Your Nails:
- Submerge your fingertips with the press-on nails into the warm, soapy water.
- Allow your nails to soak for approximately 10-15 minutes. This will help soften the adhesive underneath the press-on nails.
- Test for Readiness:
- After soaking, gently try to lift one of the press-on nails with a wooden cuticle stick or orangewood stick. If it doesn't easily come off, continue soaking for a few more minutes.
- Remove Press-On Nails:
- Once the press-on nails have sufficiently softened, use the wooden cuticle stick to gently lift and push the press-on nail away from your natural nail. Start at the sides and work your way towards the center.
- If a press-on nail is stubborn, re-soak it for a few minutes and try again. Avoid using excessive force, as you don't want to damage your natural nails.
- Dry and place the nails back into the mold to be reused later
- Cleanse and Buff:
- After removing each press-on nail, use the wooden cuticle stick to gently remove any remaining adhesive from your natural nails. Be careful not to be too aggressive to avoid damaging your nails.
- If there is any residual adhesive, you can gently buff it away with a nail buffer or file. Be cautious not to over-buff, as this can weaken your natural nails.
- Hydrate and Protect (Optional):
- After removal, you can apply nail oil or cuticle oil to your nails and cuticles to rehydrate and maintain nail health.
- Discover Effortless Press-On Nails:
- Ready for your next nail transformation? Our press-on nails offer stunning style that's easy to apply, and just as easy to remove! Check out our press-on nail collection for a variety of designs and styles that suit your unique taste.
Tips and Tricks:
- If you have difficulty lifting a press-on nail, be patient and give it more time to soak in the soapy water.
- Use gentle, rocking motions when trying to remove the press-on nails to avoid damage to your natural nails.
- Avoid rushing the process to prevent damaging your natural nails.
- If you experience any discomfort or pain during removal, stop and seek professional help.
- Soaking is a less aggressive method but may require more time compared to other removal techniques.
By following this comprehensive guide and being patient during the soaking process, you can safely and effectively remove press-on nails while preserving the health of your natural nails.This ensures that health of your nails are minimally compromised during and in between press-on nail applications.