
How to apply press-on nails: A Comprehensive Guide
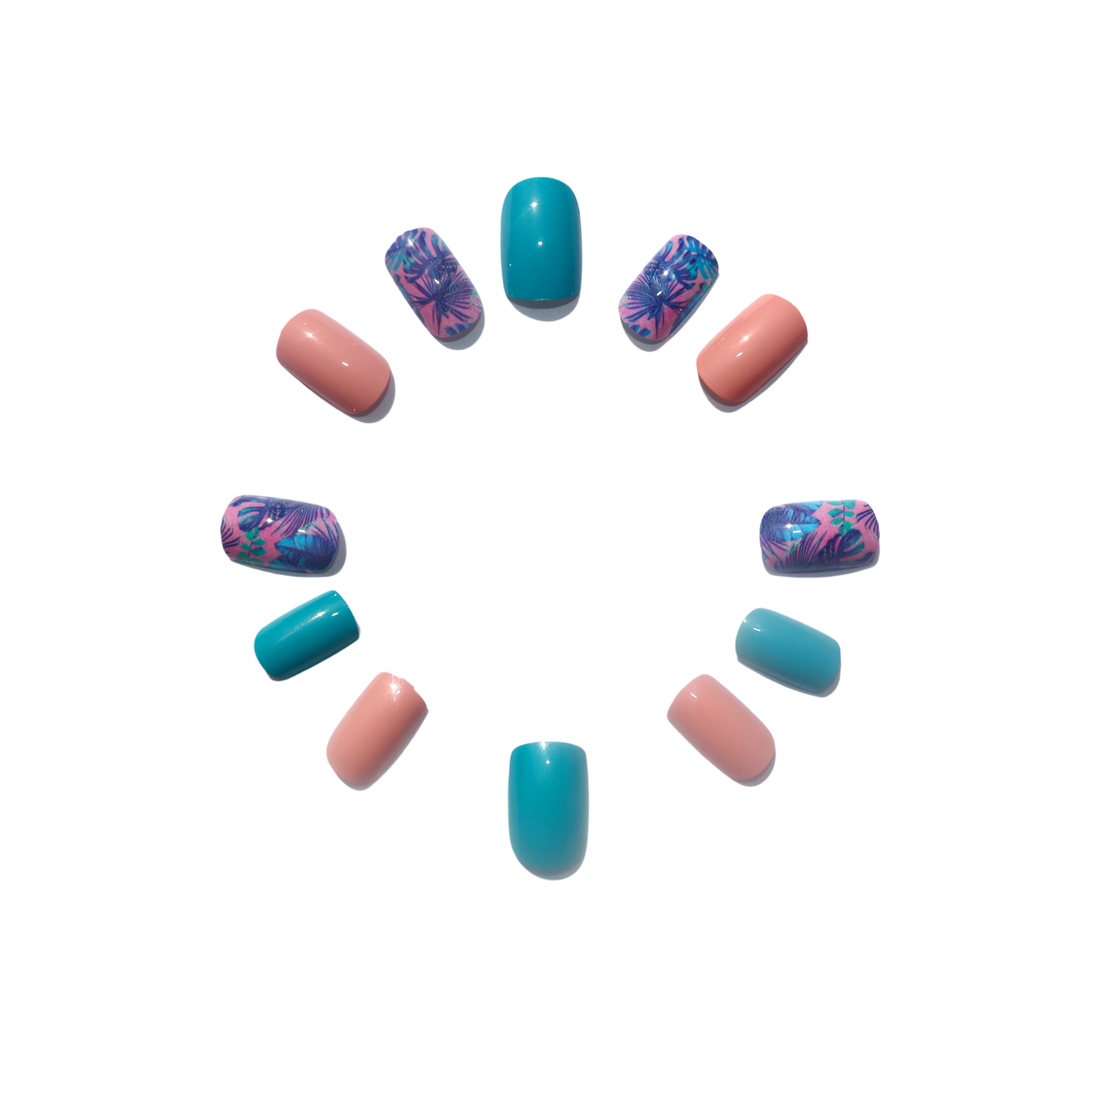
Press-on nails can give you a beautiful manicure right at home or on-the go. Ditch the salon visit and the hassle that comes with it: making appointments, rising prices, transportation to and from your salon visit, just to name a few. Our press-on nails are delivered right to your door, they are easy to apply, long-lasting and come in a variety of trendy styles.
SHOP PRESS-ON NAILS

Here's a comprehensive guide that covers all the steps to achieve a flawless press-on nail application with glue or adhesive tabs.
Preparation:
-
Gather Your Materials:
- Press-on nails of your choice
- Nail file
- Cuticle pusher or wooden stick
- Nail glue or adhesive tabs
- Nail buffer
- Acetone or nail polish remover (for cleaning nails)
- Cotton pads or swabs
- Tweezers (optional)
- Top coat (optional)
- Start with clean, dry nails. Remove any existing nail polish using acetone or nail polish remover.
- Gently shape your natural nails using a nail file. File them to your desired shape and length, making sure the press-on nails will fit comfortably.
Application:
3. Select Press-On Nail Sizes:
- Lay out the press-on nails in the order you plan to apply them.
- Match each press-on nail to your natural nails to find the closest fit for each finger. If needed, you can gently file the sides of the press-on nails to adjust the fit.
- Check out our sizing guide if needed
-
Prepare Your Natural Nails:
- Gently push back your cuticles using a cuticle pusher or wooden stick.
- Use a nail buffer to lightly buff the surface of your natural nails. This will help the press-on nails adhere better.
-
Apply Nail Adhesive:
- Choose between nail glue or adhesive tabs. Nail glue offers longer-lasting results, while adhesive tabs are temporary and easier to remove.
- Apply a small drop of nail glue onto your natural nail, avoiding the cuticle area. Alternatively, apply an adhesive tab onto your nail, making sure it's secure.
-
Apply Press-On Nails:
- Align the press-on nail with your natural nail, starting from the cuticle area. Press down firmly and hold in place for a few seconds to ensure a strong bond.
- If using adhesive tabs, remove the backing and press the press-on nail onto your natural nail, making sure it's centered.
Finishing Touches:
7. Shape and Blend:
- Use a nail file to shape and blend the press-on nails with your natural nails. File the tips of the press-on nails to your desired length and shape.
- Seal and Protect:
- Apply a top coat over the press-on nails to seal and protect the design. This step is optional but can help extend the longevity of the press-on nails.
Pro Tip:
To remove press-on nails, soak your fingertips in warm, soapy water for a few minutes to loosen the adhesive. Gently peel off the press-on nails or use a wooden stick to lift them.
Remember, practice makes perfect! Don't be discouraged if your first attempt isn't perfect. With time and experience, you'll become more skilled at applying press-on nails for a stunning, salon-worthy manicure at home.